














Content Templates
Sales Playbook Templates
Customize this sales playbook template to give your sales team the help they need when and where sales plays happen.
When it comes to personalization, the most important thing to ensure the prospect takes away is why them, why now.
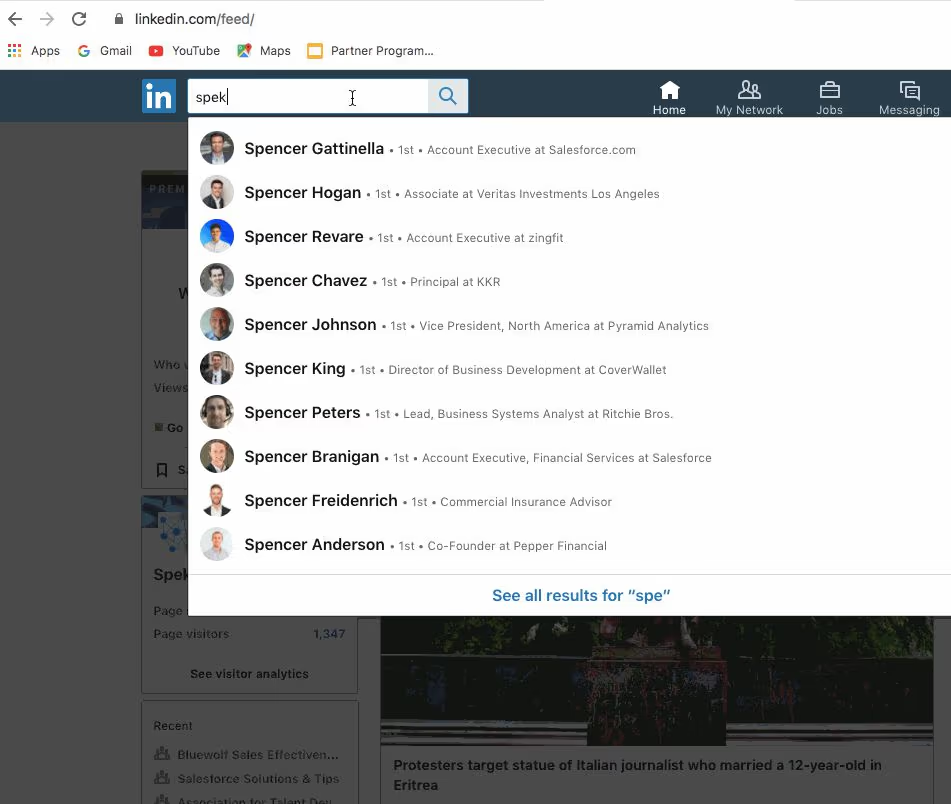
Search for the company name in the LinkedIn Search Bar and go to the company page:
Now, start doing your research:
ABOUT US - Get a high-level understanding of the business. Specifically, look for:
Next, go to INSIGHTS to get an idea of the total employees, employee growth, and any relevant top hires.
Next go to the JOBS section - this is where you'll get an understanding of any key roles they're hiring in the department you sell to:
Finally, look at HOME tab for any recent posts announcing:
How to search for Leads and Accounts
1. From the Home Page of Sales Navigator, click "All filters" next to the search bar
2. Select "Lead filters" or "Account filters" from the dropdown.* We'll use Lead filters as an example, but these tools can be applied to both.

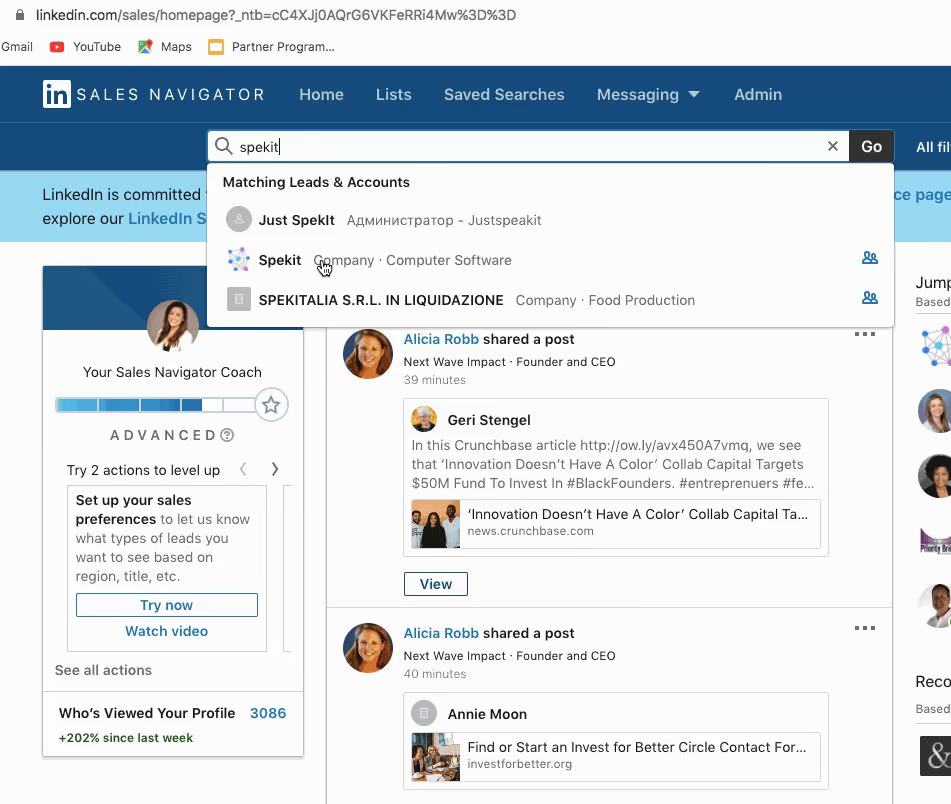
You can also start this search instead by searching for a specific account in the search bar, and then clicking into their employees:
3. Apply your filters. Filters are a great way to narrow down your results to find specific accounts & contacts. Boolean Search phrases can be applied within each of these filters. Here are all the top Boolean searches for our roles.
Some of the common filters you will use include:
Custom Lists are an extremely powerful way to filter your Lead search down based on a specific set of accounts. View the tutorial Spek here to learn more.
4. Leverage Linkedin's "Recommended Filters" - these are not officially labeled by Linkedin, but can help you narrow lead results down in some really useful ways to find:
Happy Hunting!
Start in Salesforce on the Lead Object. Leads are people and companies that you’ve identified as potential customers.
Business Process
Follow these steps to create a Lead:
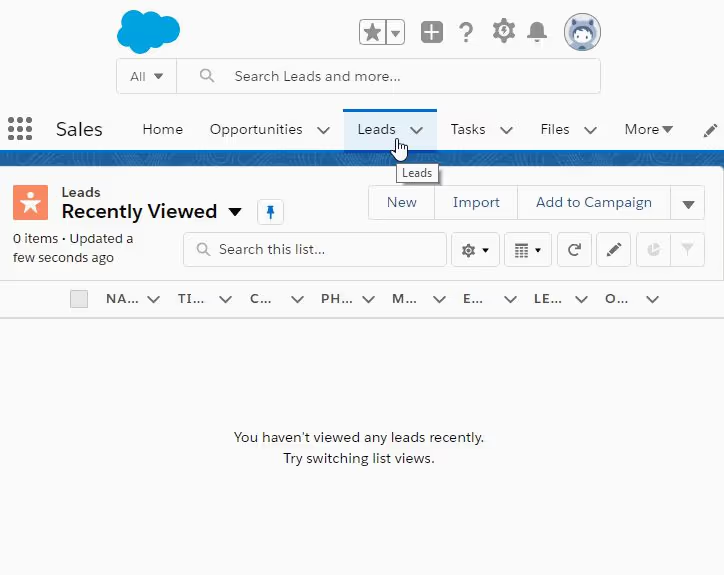
1. Click on the Leads tab at the top of your Salesforce page.

2. Click on New.

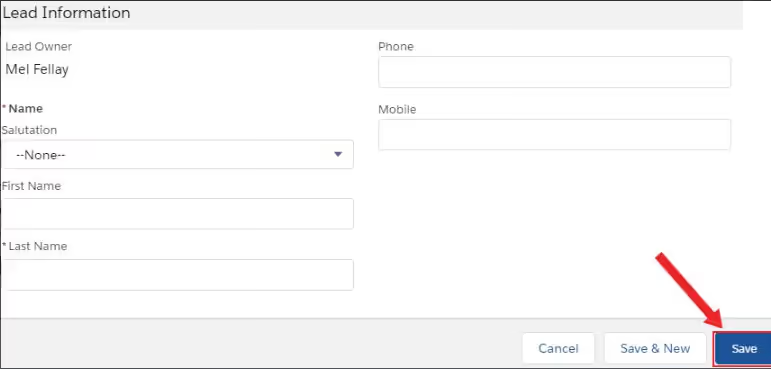
3. Fill in the required information and click Save.
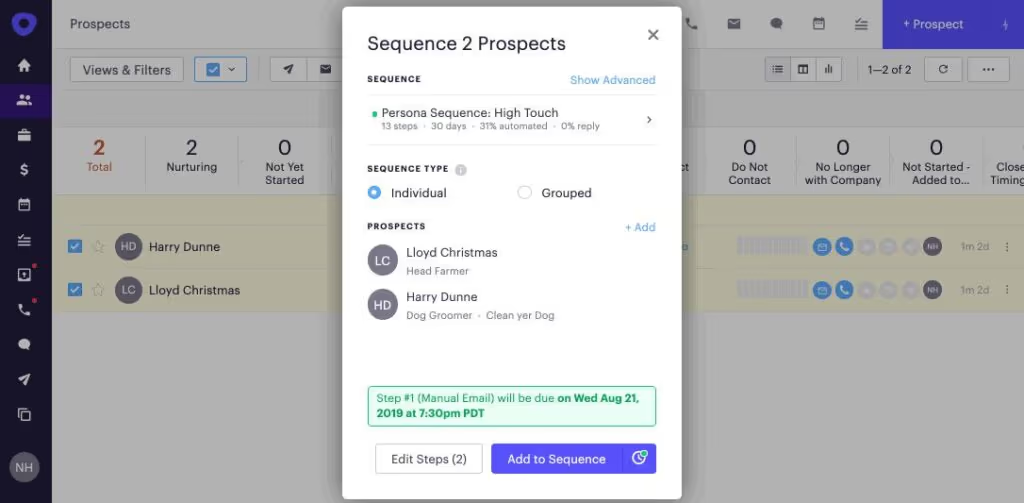
You can add either a single prospect or multiple prospects from a Salesforce list view to an Outreach Sequence.
Sequence a Single Prospect from the Salesforce List View
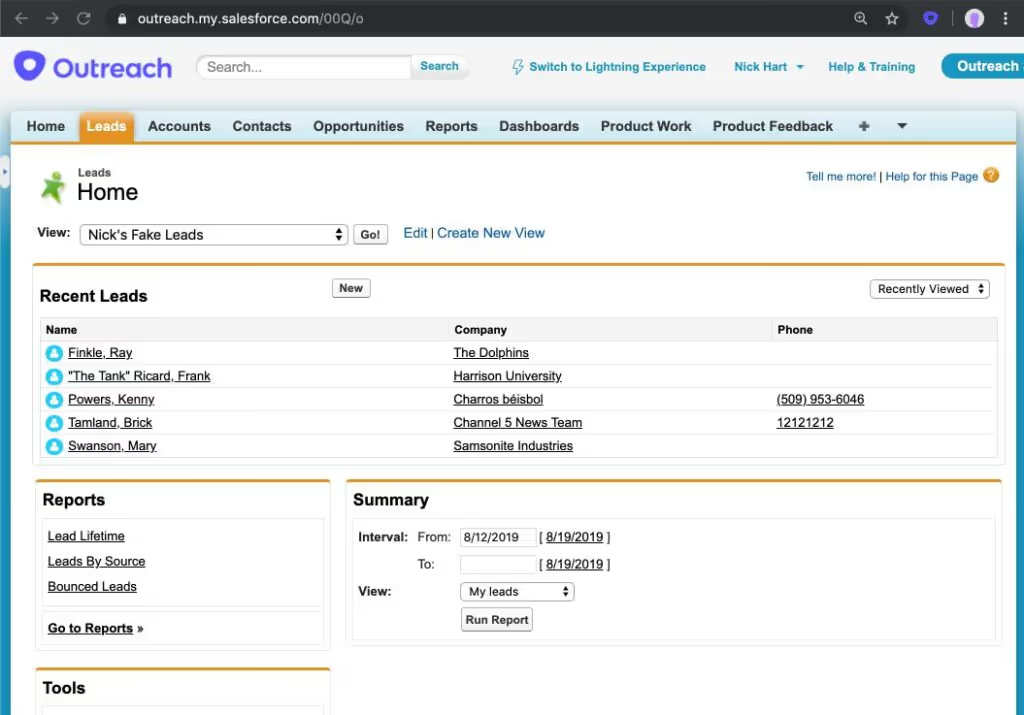
Note: If the prospect does not yet exist in Outreach, you will be presented with an option to import this prospect. Once you proceed, the prospect will be created and the information that your admin has mapped from Salesforce to Outreach will automatically be added to the prospect profile in Outreach.
3. Under the prospect name, click on the button with the paper airplane.
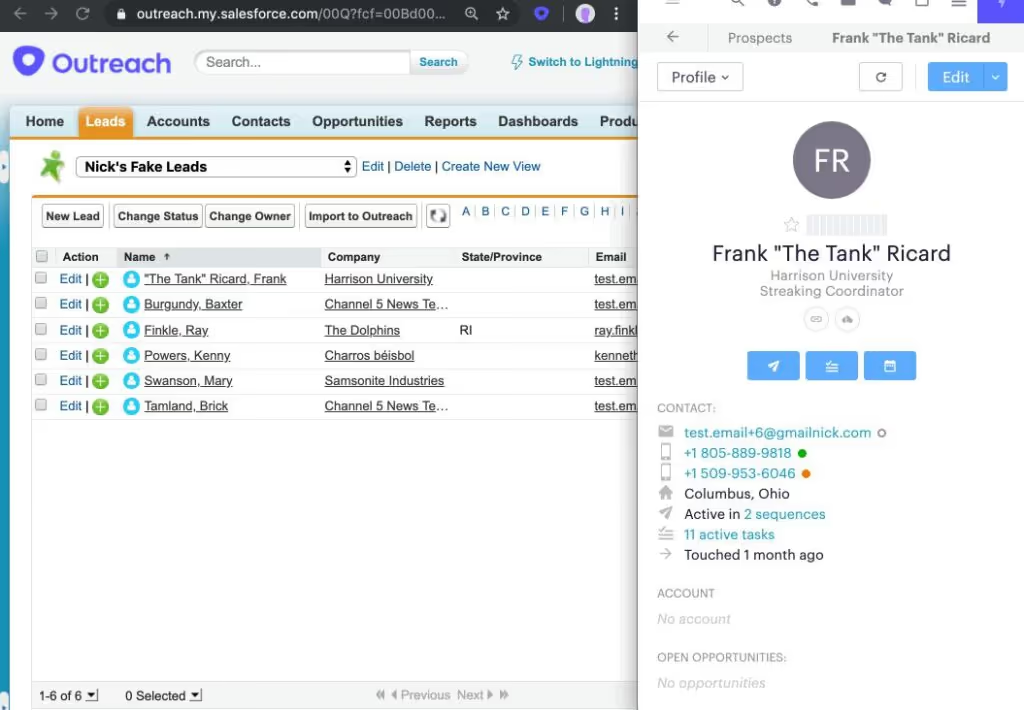
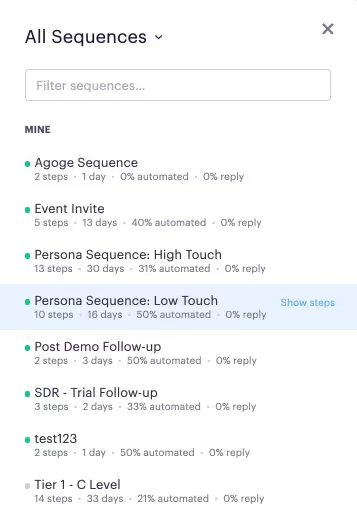
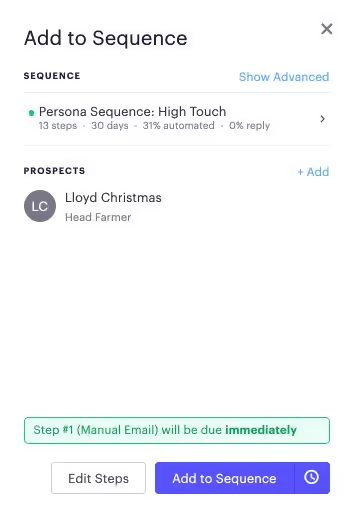
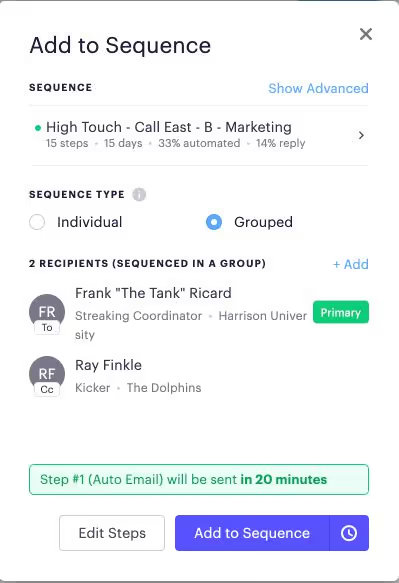
7. Click "Add to Sequence".
From here you can modify how your sequence will begin for the prospects that you selected.
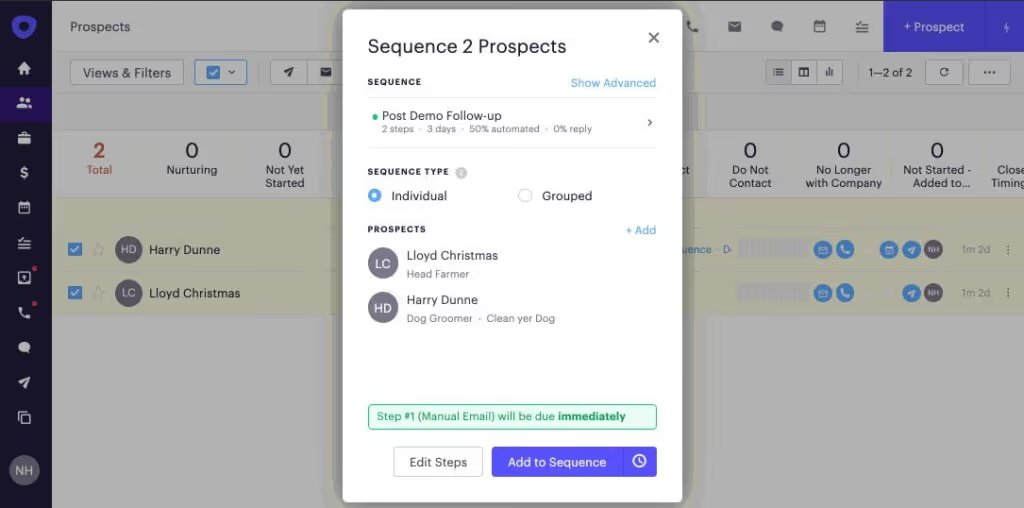
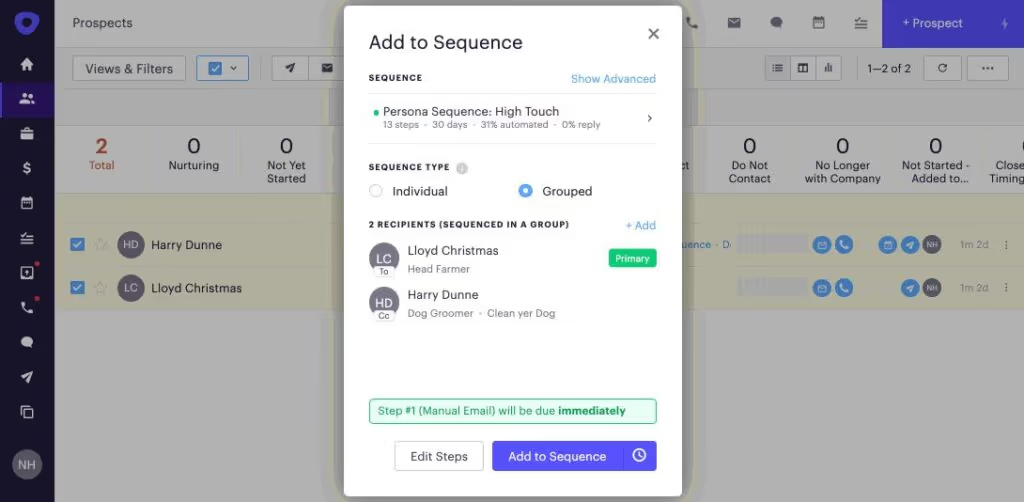
3. If you would like to specify when the first step of the Sequence starts, click on the clock icon and choose the date and time you'd like the sequence to begin.
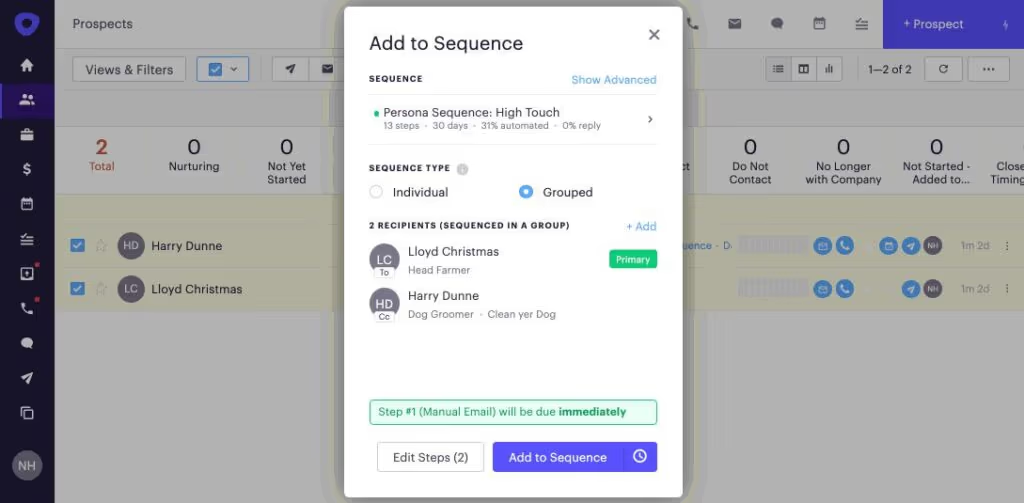
4. Once you have made all of your modifications click "Add to Sequence". From here, you will get a confirmation to let you know that everything is set. If not, you will receive an error message and the option to make adjustments.
I just booked a meeting. What do I do? After a prospect agrees to meet with us, follow these steps:
1. Create Google Calendar event including your AE and any prospects who agreed to the meeting.
2. Send an email to the prospect and CC your AE to make the introduction and confirm time. Always use the prospect's time zone in emails, not yours.
3. Convert the lead or contact to Create opportunity and assign to an AE as opportunity owner. Add any deal information you have, make sure you update these fields:
5. Do Account Research to prep for you AE and add it to the Account/Opportunity. Do this immediately, or immediately block off your calendar for when you will be doing research. View the Pre-call research Spekit for info on what Account info to look for.
6. On day before/the morning of the meeting, send a brief email as a reply to your last email to confirm timing. Consider sending a relevant piece of content as well. If you have prospects mobile #, can send a quick, casual text to confirm meeting - this can open the door to getting on a texting- basis if they respond. Email template Link to come.
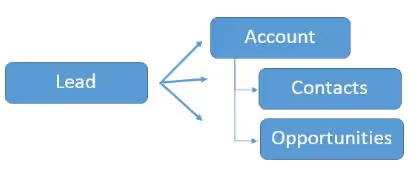
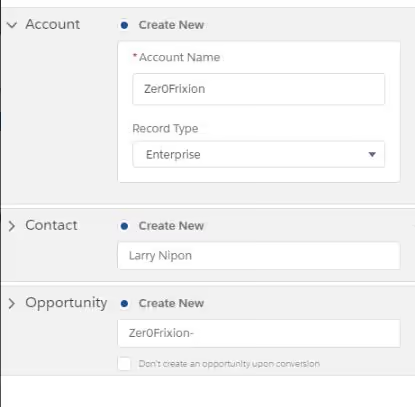
Each lead conversion in Salesforce creates an Account, Contact and an Opportunity as shown below:
Follow these steps to convert a Lead to an Opportunity:
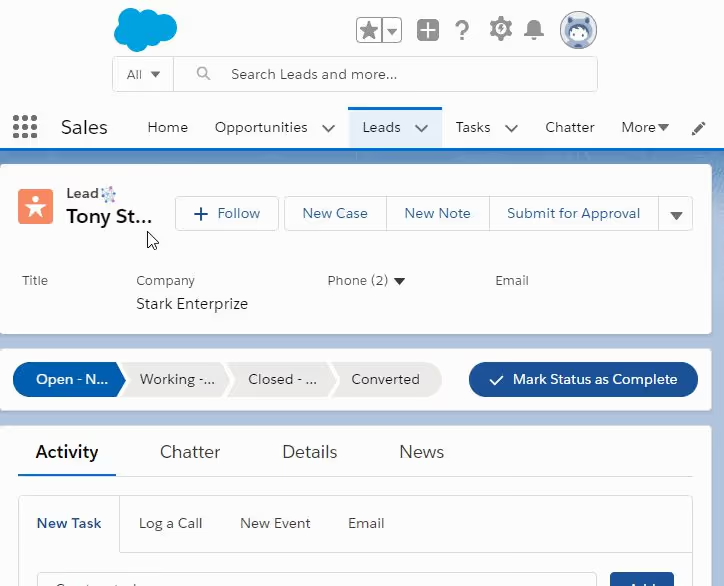
1. Click on the Leads tab at the top of your Salesforce page.

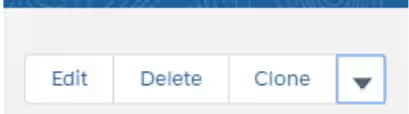
2. Select a Lead you want to convert. Click on the arrow button to the right of the page and from the drop down menu select Convert.
3. When you convert a lead Salesforce creates a new Account, Contact and Opportunity all at once. Select an existing Account, Contact or Opportunity or creating new ones. Click Convert.
When prospecting, we need to identify people in an organization we should be focusing on and people we should be avoiding.
1. Poser: The one who says I'm the guy but down the road, you'll realize he's not. This is the most dangerous person on the list and needs to be avoided
2. Coach: This is the person who gives us the information we need and tells us what we need to know. They further help us navigate internal politics.
3. Champion: This is someone on the inside who can advocate for us and get things done!
When a meeting is set, you create an Opportunity in Stage 1.
To move to Stage 2, Meeting must be qualified:
If it's not qualified yet, but could move to Stage 2 within the next 30 days, then keep it in Stage 1 and AE/SDR coordinate on plan of attack.
If it's not qualified, move to Cancelled this was a Lead and change Account Status to:
If after 30 days of your deal being in Stage 1 and no success of moving it to Stage 2, move to Cancelled this was a Lead or ask for exception to keep working on it from SDR Manager.
When it comes to personalization, the most important thing to make sure the prospect takes away is why them, why now.
Search for the company name in the Linkedin Search Bar and go to company page:
Now, start doing your research:
ABOUT US - get a high level understanding of the business. Specifically look for:
Next, go to INSIGHTS to get an idea of the total employees, employee growth and any relevant top hires.
Next go to the JOBS section - this is where you'll get an understand of any key roles they're hiring in the department you sell to:
Finally look at HOME tab for any recent posts announcing: